In a nutshell
- 🧩 The 3-step brushing method groomers trust: Prep with a light mist/conditioning spray (never brush a dry coat), Line-brushing to the skin in sections, and a controlled Finish to lock in results.
- 🛠️ Match tools to coat: use a slicker brush for lifting, an undercoat rake for dense double coats, and a rubber curry for short coats; keep pressure light and sessions short for comfort.
- 🧭 Master technique: part narrow lines, brush from skin to tip until the tool glides, work with the grain then lightly cross-check, re-mist as needed, and avoid scraping or ripping to protect skin.
- ✅ Finish strong: perform the comb test, add a light leave-in, wipe with a damp microfiber on short coats, and consider a quick lukewarm rinse and cool/low dry to reduce fallout for 24–48 hours.
- ⏱️ Build routine and support: 10–15 minutes, 2–3× weekly in shedding season; bathe every 3–4 weeks with deshedding shampoo/conditioner, boost omega-3s and hydration, and clean bedding to keep hair off furniture.
Pet hair on the couch. On your shirt. In the car. Shedding feels endless—until you use the method groomers quietly rely on to strip loose undercoat fast without irritating skin. This three-step routine blends smart prep, precise technique, and a tidy finish. It’s simple, repeatable, and takes less time than you think once you learn the rhythm. The secret is consistency and the right tools working in sequence, not brute force. Brush smarter, not harder. With a few pro tweaks—hydrating mist, controlled sections, and an end-of-session “comb test”—you can turn a blizzard of fur into a manageable breeze.
Step 1: Prep the Coat and Pick the Right Tools
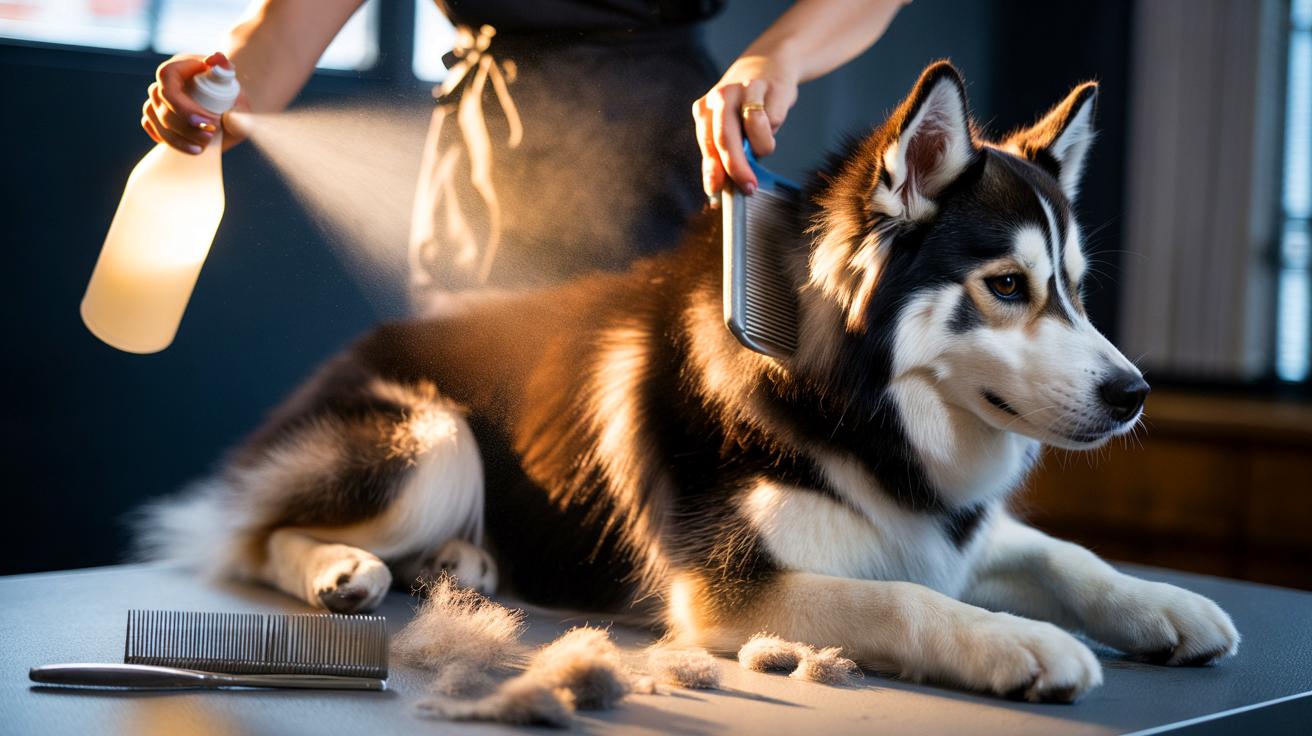
Groomers start with one rule: never brush a dry coat. A dry coat breaks. A light mist of water or a detangling/conditioning spray adds slip, reduces static, and protects the cuticle. For heavy blowouts, a quick pre-bath and thorough dry on cool/low breaks up impacted undercoat. Then comes tool choice. Match the tool to the coat, not the other way around. A slicker brush lifts and separates; an undercoat rake reaches deep; a rubber curry excels on smooth coats. Keep pressure light. You’re removing shed, not sanding wood.
| Coat Type | Primary Tool | Brush Direction | Frequency |
|---|---|---|---|
| Double coat (Husky, GSD) | Undercoat rake + slicker | With grain, then cross-check | 2–3× weekly in season |
| Single/short coat (Beagle, Boxer) | Rubber curry glove | Small circles, then with grain | 2× weekly |
| Silky/wavy (Spaniels) | Slicker + metal comb | With grain, layered | 2–4× weekly |
Set up a shedding safe zone. Floor mat down. Trash bag or lint roller nearby. Ten minutes per side is plenty for most dogs when done methodically. Short sessions beat marathon struggles, especially for anxious pets. If you hit mats behind ears or in the armpit, spritz, pinch the base of hair to protect skin, and work tips-out with a slicker. No sawing. No ripping.
Step 2: The Line-Brushing Technique That Releases the Undercoat
Here’s the pro move: line-brushing. It’s a systematic way to reach the skin and clear loose undercoat from the bottom up. Part a narrow “line” of hair so you can see the skin, then brush that line until the tool glides, and move up half an inch. Repeat like shingles on a roof. Start at the skin, not the surface. This prevents the common mistake of glossing over the top while packing shed deeper.
Use a slicker at a slight angle, wrists relaxed, tiny strokes. Let the pins do the work. If the coat is dense (think Akita, GSD), follow with an undercoat rake to catch what the slicker lifted. Switch zones every few minutes—neck ruff, shoulders, thighs—to avoid hot spots. Watch the skin: pink means pressure is too high or the coat is dry. Spritz again.
Direction matters. Work with the grain over the spine and thighs for comfort, then cross-check lightly against the grain to catch stubborn tufts. In friction zones—collar line, behind ears—slow down. Add a touch more conditioner and use the corner of the slicker. If you hear scraping, you’re pressing too hard. If you hear nothing and the tool glides, you’re winning. When the brush stops collecting, the section is done.
Step 3: Lock It In—Finish, Rinse, and Routine
Finishing secures your work and cuts future shed. First, perform the comb test: run a metal comb from skin to tip through random spots. If it snags, return to line-brushing that area. If it glides with a faint whisper, you’re cleared. On short coats, switch to a rubber curry and make small circular passes to lift micro-shed and boost circulation; wipe with a damp microfiber cloth to capture dust and dander.
To “lock” the coat, mist a lightweight leave-in and brush once with the grain. Some groomers do a fast, lukewarm rinse and thorough dry (cool/low) to rinse out loosened dander and close the cuticle. That step, while optional, noticeably reduces fallout on furniture for the next 24–48 hours. Clean coat, less shed.
Build a rhythm. For double coats in blow season, aim for 10–15 minutes, three times a week. Single coats typically need two sessions weekly. Add a bath every 3–4 weeks with a deshedding shampoo/conditioner. Keep nails short to improve posture and reduce friction mats. Diet helps too: omega-3s, lean protein, hydration. Finally, vacuum where your dog sleeps—shed follows gravity—and wash bedding weekly. Small habits compound into a cleaner home and a happier, itch-free dog.
Used together, these three steps—prep, line-brush, finish—turn chaotic shedding into a quick, controlled routine. The method respects skin, targets the undercoat, and produces results you can see on the brush instead of your black pants. It also strengthens the bond between you and your dog; calm, consistent handling makes grooming feel safe. Ready to try it this week, and if so, which coat type are you tackling first—and what tool will you reach for before the fur starts flying?
Did you like it?4.6/5 (25)