In a nutshell
- 🔥 Use hot water and dish soap first: heat softens grease and soap scum; run two rounds before escalating.
- 🧪 Try the fizz: pour 1 cup baking soda followed by 1 cup white vinegar, cap the drain for 10–20 minutes, then flush with very hot water.
- 🛠️ Add pressure with a plunger: seal the overflow, plunge in short vertical bursts; if stubborn, use a wet/dry vacuum for powerful suction.
- 🧵 Go mechanical for hair: pull clumps with a zip strip or drain snake; if needed, remove and clean the P-trap over a bucket.
- 🚨 Know when to stop and prevent clogs: multiple backups or sewage smells mean a main-line issue; for prevention use a mesh strainer, weekly hot-water flushes, and keep grease out of the drain.
Clogs don’t wait for convenient moments. They show up before work, during dinner, right as guests arrive. The good news: you can clear most sink blockages using simple tools and pantry staples, skipping the caustic gels that can damage pipes and harm waterways. This method relies on heat, agitation, and gentle pressure. No special skills. Minimal mess. It starts with observation, then moves through a sequence that escalates only when needed. Think smart, not forceful. Never mix these techniques with chemical drain openers. With a kettle, a cup of baking soda, some white vinegar, a plunger, and patience, you can restore flow—and keep it that way.
What You Need and Why It Works
The backbone of a no-chemical unclog centers on three forces: heat, surfactants, and mechanical pressure. Near-boiling water softens grease and loosens congealed toothpaste or soap scum. A squeeze of dish soap acts as a surfactant, letting hot water slip past the gunk. The classic baking soda + vinegar combo produces fizzing carbon dioxide and a mild alkaline/acid sequence that dislodges biofilm. When flow is stubborn, a well-sealed plunger amplifies pressure to free debris. For hair and stringy buildup, a cheap plastic zip strip or a short hand drain snake grabs and lifts. These are low-risk, low-cost tools that solve most sink clogs.
Before you start, gather gear: kettle or pot, measuring cup, cup plunger, rubber gloves, bucket and towel, and a zip strip or small snake. A wet/dry vacuum can be a secret weapon when plunging fails. If you can access the P-trap, have channel-lock pliers ready. Understanding the likely clog—grease, hair, or a foreign object—helps you pick the right first move. A simple guide below clarifies the matchups so you don’t waste time or energy.
| Tool/Method | Best For | Notes |
|---|---|---|
| Hot Water + Dish Soap | Grease, soap scum | Run in rounds; avoid boiling water on fragile porcelain. |
| Baking Soda + Vinegar | Biofilm, odors, light buildup | Let it sit 10–20 minutes, then flush hot. |
| Plunger | General clogs, stuck debris | Seal overflow hole; steady, vertical strokes. |
| Zip Strip/Snake | Hair tangles | Great on bathroom sinks and tubs. |
| Wet/Dry Vacuum | Stubborn blockages near the drain | Use a tight seal; switch to “wet” mode. |
Step-by-Step: Gentle Methods That Clear Most Clogs
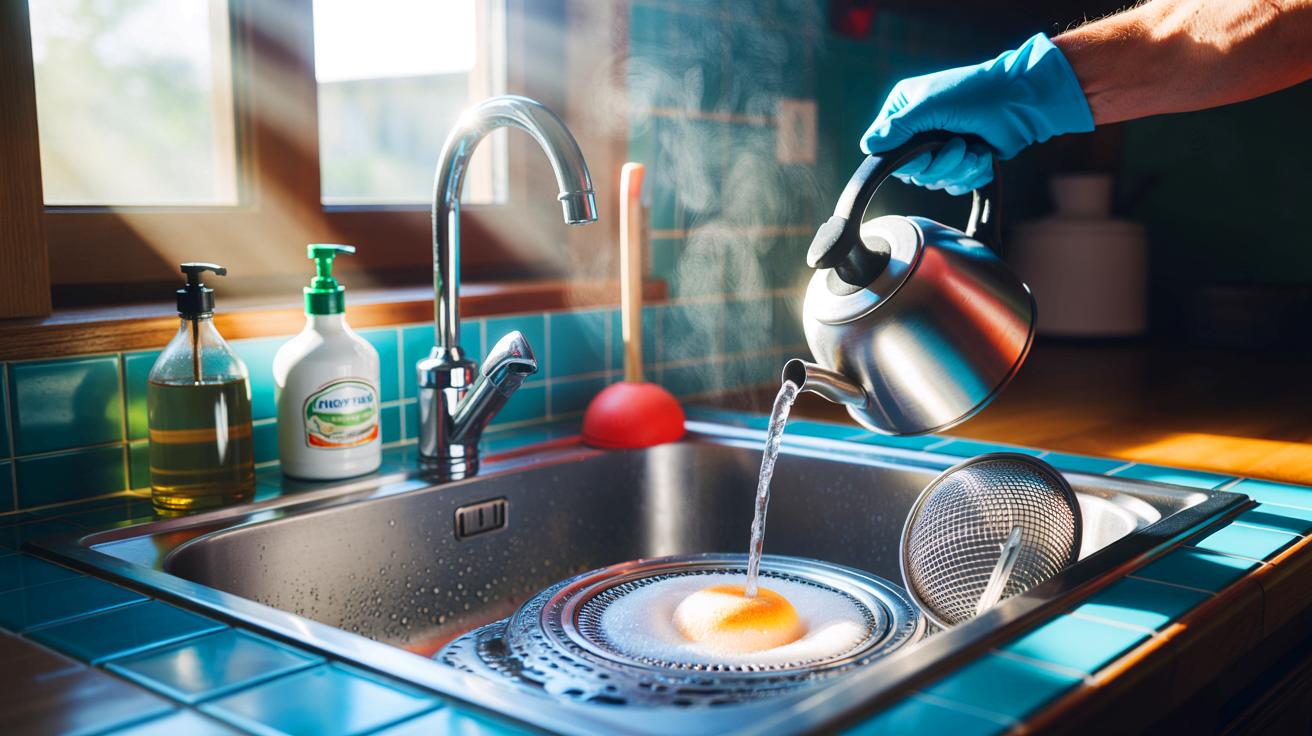
First, assess the scene. If the basin is full, bail a few inches of water into a bucket to prevent splashing. Pull the stopper and clean it; hair often collects there. Pour a kettle of very hot (not violently boiling) water down the drain. If you have PVC piping or an enamel sink, let the water cool 10–20 seconds. Add a generous squirt of dish soap, then another half-kettle of hot water. Wait. Repeat once. Heat and surfactants alone can clear a surprising number of clogs.
If flow is still slow, try the fizz. Pour 1 cup baking soda into the drain. Follow with 1 cup white vinegar. Cap the opening with the stopper or a rag to concentrate the reaction. Let it work 10–20 minutes. You’ll hear soft crackling. Finish with a slow, steady flush of very hot water to push loosened debris through the trap and into the line. If the sink has an overflow channel, pour some hot water into it too to rinse hidden buildup.
Next, move to pressure. Cover the overflow hole with a damp cloth for a tight seal. Fill the basin until the plunger cup is fully submerged. Position it straight over the drain and plunge with sharp, vertical strokes for 15–20 seconds. Lift and check. Repeat up to three rounds. If the water suddenly drains with a glug, you’ve likely cleared the blockage. No luck? A wet/dry vacuum set to “wet” can suck out the clog; hold a folded cloth around the hose to seal and pull for 10–15 seconds at a time.
When to Try Mechanical Help (and When to Stop)
Hair-based clogs often resist pressure but surrender to a simple zip strip. Feed the barbed strip into the drain—remove the stopper first—twist gently, and draw it out. You’ll likely pull a dark, stringy wad. Clean the strip and repeat until it comes back mostly clean. For deeper snags, use a short drain snake. Insert a few feet, turn the handle clockwise to catch debris, then pull and dispose in the trash. Run hot water for a full minute to confirm clear flow.
If you’re comfortable with basic plumbing, remove the P-trap. Place a bucket under the curve. Loosen the slip nuts by hand or with pliers, keeping threads aligned. Drain the trap, clean it with an old brush, and inspect for foreign objects like jewelry or plastic. Reassemble, hand-tighten, and test for leaks. Don’t overtighten plastic fittings; compressing the washer too much can cause drips later. A cleaned trap plus a hot-water flush often restores a like-new drain.
Know your red flags. Stop immediately if multiple fixtures back up, you smell sewage, or plunging forces water into a nearby sink or tub. That signals a main-line issue, not a simple sink clog. Also stop if you recently used a chemical drain opener; mixing methods can be dangerous to your skin, lungs, and tools. In those scenarios, call a licensed plumber. It’s cheaper than a flooded cabinet or a cracked pipe, and you’ll avoid turning a small problem into a weekend-long repair.
Keep It Flowing: Prevention You’ll Actually Use
Prevention isn’t a chore when it fits daily habits. Use a fine mesh strainer in kitchen and bathroom sinks; it catches coffee grounds, vegetable peels, and hair before they slip into the trap. Wipe greasy pans with a paper towel before washing, then send only the light residue down the drain with hot water and a shot of dish soap. Once a week, run the hottest tap water for 60–90 seconds. That simple flush melts and moves grease before it hardens.
Every few weeks, refresh the line. Sprinkle 1/2 cup of baking soda into the drain, wait five minutes, then follow with a slow pour of hot water. This isn’t a repair; it’s maintenance that slows biofilm growth and keeps odors at bay. Train yourself to throw stringy scraps—celery threads, onion skins—into the trash or compost. Teach kids what not to drop into the sink. Small habits, big results.
Mind the hardware too. Clean the stopper regularly; that top inch is where sludge starts. Inspect under-sink connections twice a year for dampness or mineral tracks that hint at tiny leaks. Replace worn washers before they weep. If your home has older galvanized lines, schedule a camera inspection to catch corrosion early. And remember: the best drain cleaner is the one you never have to use. By pairing gentle methods with consistent care, your sink should run clear and quiet.
You don’t need harsh chemicals to beat a clog. Heat, patience, and a few smart tools do the heavy lifting while protecting pipes and the environment. The approach is methodical: start gentle, escalate prudently, and stop when you see warning signs. If you’re willing to learn your sink’s quirks and adopt a handful of easy habits, future backups stay rare and brief. What’s your plan the next time water pools in the basin—will you reach for the kettle, the plunger, or both?
Did you like it?4.4/5 (30)