In a nutshell
- 🧪 Why it works: Oil (nonpolar) loosens adhesive tackifiers while baking soda provides a gentle micro-abrasive lift—commercial-strength results without harsh solvents.
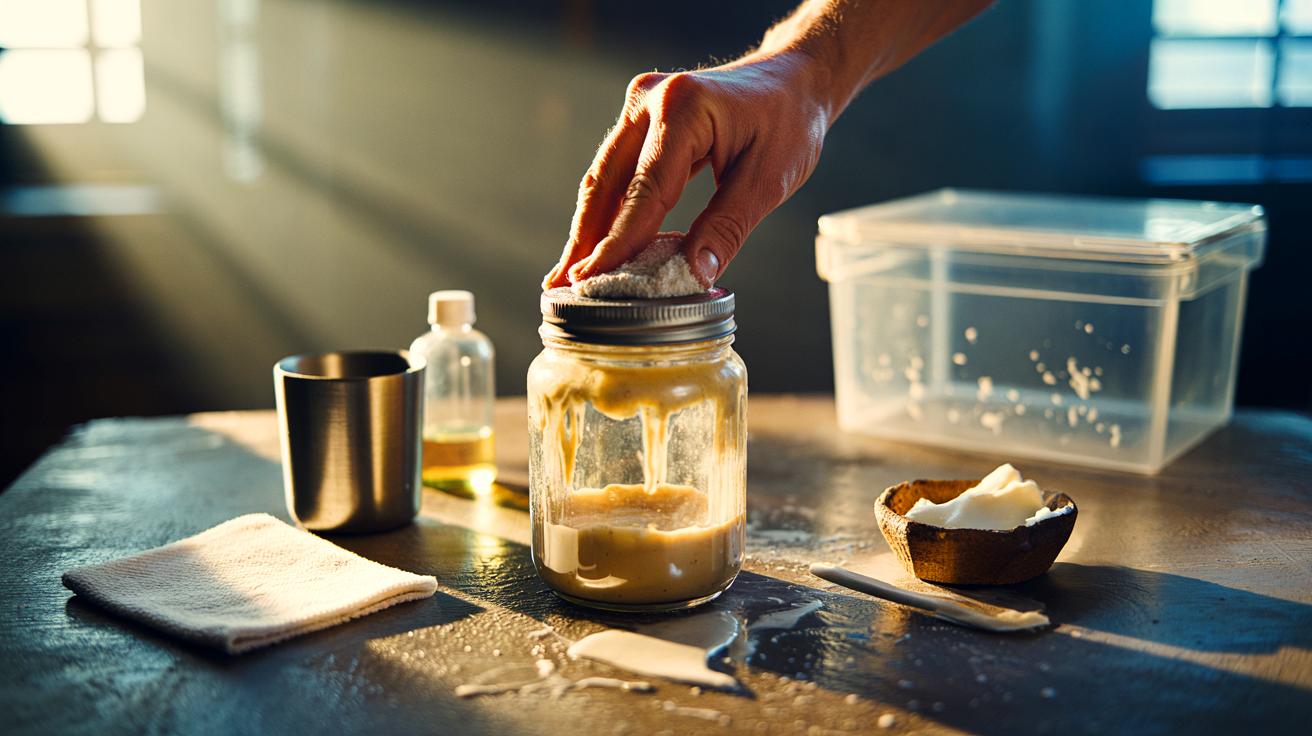
- 🧴 Step-by-step: Mix 1 tbsp oil + 1 tbsp baking soda to a creamy paste, apply 5–10 minutes (up to 20–30 for stubborn spots), massage with a cloth, use a plastic scraper for edges, then soap-and-water wipe to remove oily sheen.
- 🛡️ Safety first: Always patch-test; go light on finished wood and painted walls; keep product away from electronics ports; stop if you feel grit and reapply instead of grinding.
- 🧩 Surface tips: Glass and stainless steel are forgiving; plastics can haze under pressure; sealed stone tolerates brief contact, while unsealed stone may absorb oil; fabrics need targeted blotting and a soap rinse.
- 📊 Quick reference: A handy table aligns ratio, dwell time, tool, and caution by surface; aim for a spreadable paste, adjust thickness and pressure, and finish with a clean, dry buff.
Sticky price tags on glass, gummy labels clinging to plastic bins, mystery residue on countertops—everyone faces the same aggravating mess. Here’s the good news: a two-ingredient fix works across almost every household surface. All you need is oil and baking soda. No fumes. No harsh solvents. Just chemistry and a little patience. This method dissolves the tack while gently scouring the film that’s left behind. It’s fast for light jobs, surprisingly powerful for stubborn ones. Always start with a small spot test to protect delicate finishes. With the right ratio, a soft cloth, and a few minutes of dwell time, that sticky headache disappears.
Why Oil and Baking Soda Work on Sticky Residue
Adhesive gunk isn’t magic; it’s chemistry. Many sticker and tape residues rely on tackifiers—often acrylic or rubber-based—that grip surfaces via low-level pressure and subtle surface energy interactions. Oil, being largely nonpolar, slips between these bonds and softens the sticky matrix so it can’t cling. Think of it as loosening the glue’s handshake. Meanwhile, baking soda delivers a micro-abrasive texture. Those tiny particles lift dissolved residue without gouging most finishes. The combined effect is elegant: dissolve, then nudge. This is the same principle behind many commercial removers, minus the harsh solvents and heavy fragrances.
The duo also wins on practicality. You likely have both ingredients at home, and they’re inexpensive. Vegetable oils (canola, olive), mineral oil, or baby oil all work; melted coconut oil works too. Baking soda’s mild alkalinity (around pH 8+) helps cut grime while remaining gentle. The method is adaptable: change the paste thickness, dwell time, or tool—soft cloth, plastic scraper, old toothbrush—depending on the surface. The result? Clean removal, minimal risk, and a finish that feels like new.
Step-by-Step: The Two-Ingredient Cleanup Method
Mix a small batch: start with 1 tablespoon oil and 1 tablespoon baking soda. You’re aiming for a creamy paste that spreads but doesn’t run. Too thin? Add a pinch of baking soda. Too thick? A few extra drops of oil. The sweet spot is a spreadable paste that clings to the residue without dripping. Before you begin, wipe away dust so the paste targets only the sticky area, not surrounding grit.
Apply a thin layer directly over the residue. Let it sit for 5–10 minutes on light gunk. For stubborn labels or old tape lines, extend to 20–30 minutes and re-wet with a drop of oil if it dries. Then massage with a soft cloth using small circles. Increase pressure gradually. For edges and grooves, use a plastic scraper or an old toothbrush; both add control without carving the surface. If you feel grit, stop and reapply paste—don’t grind debris into the finish.
Wipe clean with a dry cloth first, then follow with a damp cloth and a drop of mild dish soap to remove the oily sheen. Dry thoroughly to prevent water spots on glass and metal. Repeat once for heavy, layered adhesives. If residue smears instead of lifting, add dwell time and lighten your touch—friction plus time beats brute force.
Surface-Specific Tips, Safety, and a Quick Reference Table
Glass and stainless steel are forgiving—use a standard paste, moderate pressure, and a microfiber cloth for a streak-free finish. Plastics vary; hard plastics tolerate gentle scrubbing, while soft or glossy plastics can show haze if you rub aggressively. On finished wood, go light: thin paste, minimal dwell, and wipe promptly to avoid lifting wax or softening fresh varnish. Painted walls? Dab, don’t rub; the goal is to soften and lift the adhesive without burnishing the paint. Sealed stone (granite, quartz) can handle the paste, but keep contact brief and clean thoroughly; unsealed stone may absorb oil. Keep liquids away from electronics ports—apply paste to the cloth, not the device.
For fabrics and upholstery, use dots of oil and baking soda on the adhesive only, then blot; follow with a targeted soap-and-water rinse to pull out oil. Always test dyes and finishes. Here’s a quick reference to guide ratios, dwell times, and cautions at a glance.
| Surface | Paste Ratio | Dwell Time | Tool | Caution |
|---|---|---|---|---|
| Glass | 1:1 (oil:baking soda) | 5–10 min | Microfiber, plastic scraper | Buff dry to prevent streaks |
| Stainless Steel | 1:1 | 5–15 min | Soft cloth with grain | Avoid cross-grain scrubbing |
| Plastic (hard) | 1:1, slightly thicker | 10–20 min | Cloth, gentle toothbrush | Watch for haze; reduce pressure |
| Finished Wood | 1:1, very thin | 3–5 min | Soft cloth only | Test finish; wipe quickly |
| Painted Walls | 1:1, spot-only | 2–5 min | Dab, don’t rub | Risk of burnish; be gentle |
| Sealed Stone | 1:1 | 5–10 min | Cloth, light pressure | Clean residue promptly |
| Electronics | 1:1 on cloth | 1–2 min | Edge of cloth | Keep away from ports |
With a pantry staple and a box of baking soda, you can outsmart almost any sticky mess. The mix dissolves residue, the grains lift it, and a final polish leaves surfaces fresh without the sting of chemical solvents. Save the specialty removers for rare emergencies. Patch-test, be patient, and let the chemistry do the heavy lifting. The next time a stubborn label laughs at you, reach for the oil bottle, not the razor blade. What tricky, gluey mess will you tackle first—and on which surface will you try this two-ingredient method today?
Did you like it?4.3/5 (23)