In a nutshell
- 🌱 Banana peels provide a natural potassium boost that supports flowering, fruiting, and stress tolerance—use as a supplement, not a complete N-P-K fertilizer.
- 🧼 Prep smart: wash peels, slice thin, and dry to a crisp (or freeze) for safe storage; avoid burying whole peels to prevent pests, odor, and slow, uneven rot.
- 🛠️ Three methods: Tea (steep 24–48h, dilute 1:2–1:4), Powder (slow release, scratch into soil monthly), and Fermented extract (5–7 days, dilute 1–2 tbsp/gal); apply to soil only.
- 🌸 Best targets: fruiting and blooming plants like tomatoes, peppers, and roses; choose tea for small pots, powder for beds, and diluted extract for heavy feeders—water first, then feed, and soil-test when possible.
- ⚠️ Troubleshooting: watch for edge burn or curled leaves (possible excess K), signs of induced magnesium deficiency, and fruit flies from exposed material; skip foliar sprays and debunk myths (peels don’t repel aphids or supply high phosphorus).
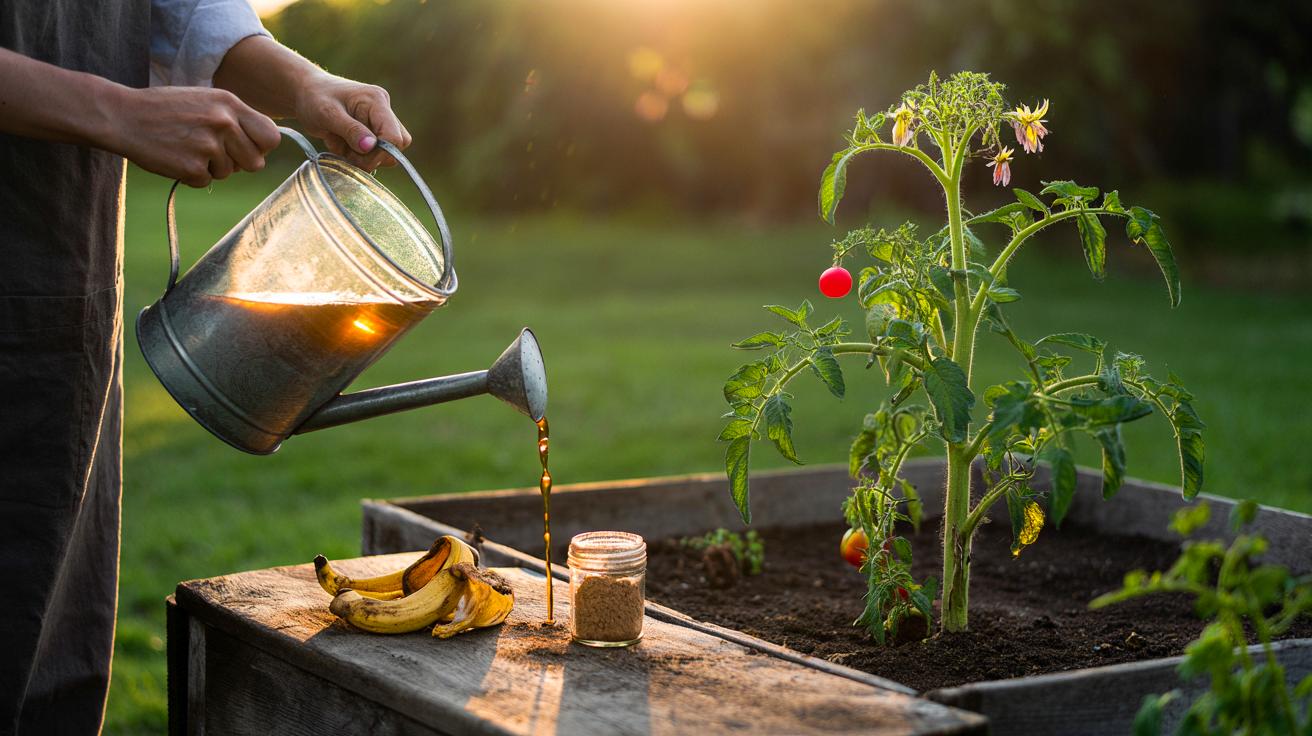
America throws away mountains of banana peels every week, yet those speckled skins hold a quiet superpower for gardens and windowsill pots. Rich in potassium (K) and helpful trace minerals, peels can support sturdier stems, better water regulation, and more confident blooms. This is frugal, practical, and frankly satisfying. Free fertilizer from leftovers. With a few simple techniques, your compost bin and your plants can both win. Below, I break down how banana peels help, safe ways to prepare them, and the best methods to turn those peels into a steady, natural potassium boost—without attracting pests or creating messes.
Why Banana Peels Help Plants
Potassium is the plant world’s traffic cop. It helps open and close stomata, fortifies cell walls, drives sugar transport, and primes plants for stress. When gardeners feed potassium, they often see tighter internodes, improved drought tolerance, and stronger flowering and fruiting. Banana peels, especially when dried or extracted, provide a modest, slow-release stream of this crucial nutrient alongside small amounts of magnesium, calcium, and micronutrients. That’s a useful nudge for tomatoes setting fruit, roses heading toward a big bloom cycle, or peppers bracing for heatwaves.
There are limits. Banana peels are low in nitrogen, and their N-P-K ratio isn’t balanced. Don’t expect peels to replace a complete fertilizer program. Think of them as a supplement: a sustainable add-on layered with compost, fish emulsion, or a slow-release organic blend. Prepared the right way, peels won’t stink or summon fruit flies. Prepared poorly, they can. The trick is to process them so nutrients are accessible without inviting pests—chopping, drying, or controlled soaking instead of burying whole hunks that decay slowly and unevenly.
Safe Preparation and Storage
Start with clean peels. If your bananas aren’t organic, wash the skins under warm water with a pinch of baking soda or a drop of unscented soap, then rinse thoroughly. Pat dry. Slice into thin strips to increase surface area; more edges mean faster, cleaner processing. For a low-odor option, dry the peels until they’re crisp. Use a dehydrator or set an oven to about 200°F (93°C) with the door cracked, checking every 30 minutes. They should snap, not bend. Crisp peels resist mold and store beautifully.
Store dried peels in an airtight jar away from light. Add a small paper packet of rice or silica gel to wick moisture if your kitchen runs humid. Prefer to keep them fresh? Freeze chopped peels in a bag and defrost small portions for quick “tea.” Avoid tossing whole peels into containers or raised beds; they rot slowly, attract critters, and can create slimy pockets that repel roots. If a preparation smells sour, boozy, or rotten, discard it—safety and plant health first. Clean tools and jars keep microbes friendly and results consistent.
Three DIY Methods: Tea, Powder, and Fermented Extract
Banana peel “tea” is fast and gentle. Place one cup of chopped peel (fresh or dried) in a quart of dechlorinated water. Steep 24–48 hours at room temperature, covered. Strain, then dilute 1:2 to 1:4 with water. Apply to soil, not leaves. Use every two to four weeks during flowering and fruiting. It’s mild, smells fine when fresh, and won’t overwhelm roots. When in doubt, dilute more.
Powder is your slow-release ace. Grind fully dried peels to a coarse powder. For a one-gallon pot, mix in 1–2 tablespoons across the top inch of soil and water thoroughly. Outdoors, sprinkle a light palmful per square foot, then scratch in. Repeat monthly in the growing season. Fermented extract delivers a stronger punch. Pack equal weights of chopped peels and brown sugar into a jar. Press to release syrup, cover with cloth, and let sit 5–7 days, venting daily. Strain the liquid. Dilute heavily: about 1–2 teaspoons per quart (or 1–2 tablespoons per gallon) of water for soil drench.
| Method | Prep Time | Dilution | How Often | Pros | Cautions |
|---|---|---|---|---|---|
| Tea | 24–48 hours | 1:2 to 1:4 | Every 2–4 weeks | Easy, low odor | Use quickly; don’t store warm |
| Powder | 2–4 hours to dry, then grind | None | Monthly | Slow release | Don’t overapply in small pots |
| Fermented Extract | 5–7 days | 1–2 tbsp/gal | Every 3–4 weeks | Concentrated, efficient | Vent daily; discard if foul |
Which Plants Benefit Most
Think bloomers and fruiters. Tomatoes, peppers, eggplants, cucumbers, squash, and melons respond well to carefully timed potassium supplements as they set flowers and fruit. Ornamental staples—roses, dahlias, zinnias—often show stronger stems and more persistent blooms with a gentle K nudge. Citrus in containers appreciates it mid-season. For houseplants, use lightly and sparingly; snake plant, pothos, and hoya don’t need much. Seedlings and leafy greens prioritize nitrogen and balanced nutrition over extra K.
Match the method to the plant and pot size. In small containers, the tea’s mildness is safer. For garden beds, powder offers steady release without frequent mixing. Fermented extract suits heavy feeders during peak production, but keep it dilute. Always water the soil first, then feed; this prevents salt stress. If you’ve recently applied a complete fertilizer, scale back the peel-based supplement to avoid crowding out magnesium and calcium uptake. A quick soil test—home kit or lab—clarifies whether potassium is actually low. Feed the need, not the trend.
Troubleshooting and Myths
If leaves scorch at edges or curl under while staying green, you may be crowding the root zone with salts or tipping the balance toward excess potassium. Flush pots with plain water and pause supplements for two weeks. Pale new growth with dark edges can signal induced magnesium deficiency from oversupplying K. Correct with a light Epsom salt drench (1 teaspoon per gallon) and reduce peel inputs. Pesky fruit flies? You likely left wet peel material exposed. Keep jars covered, strain promptly, and bury powder lightly.
Now the myths. Banana peels stuffed near roses won’t magically repel aphids. Nor are they a phosphorus powerhouse. They shine as a potassium-leaning amendment—useful, not miraculous. Never drape raw peels on soil expecting instant results; they’ll rot on the surface and invite trouble. If a preparation smells off, it is off—compost it. Stains on leaves after foliar sprays? Skip foliar; apply to soil only. And if your garden is already high in K (common where wood ash or heavy fertilizers were used), peel-based feeds may add little benefit. When in doubt, test, adjust, and keep records.
Done right, banana peels turn kitchen waste into quiet plant power—responsibly, affordably, and with measurable results over time. You’ll save money, reduce waste, and support sturdier blooms and harvests. Small, steady doses beat messy miracles. Try a method that fits your routine, observe your plants for two to three weeks, and tweak the schedule. A garden journal helps. What will you test first—tea for your tomatoes, powder for your roses, or a cautious fermented batch for those container peppers?
Did you like it?4.5/5 (22)